
How To Upgrade Postgres#
As long as some downtime is acceptable, we can do database upgrades in a relatively simple way.
Test#
The Test database serves Test and UAT. Obviously do this one first.
You can do this from the CLI, but as it isn’t that common an activity, we’ll show the AWS Console method here.
Create New Database Server from Snapshot#
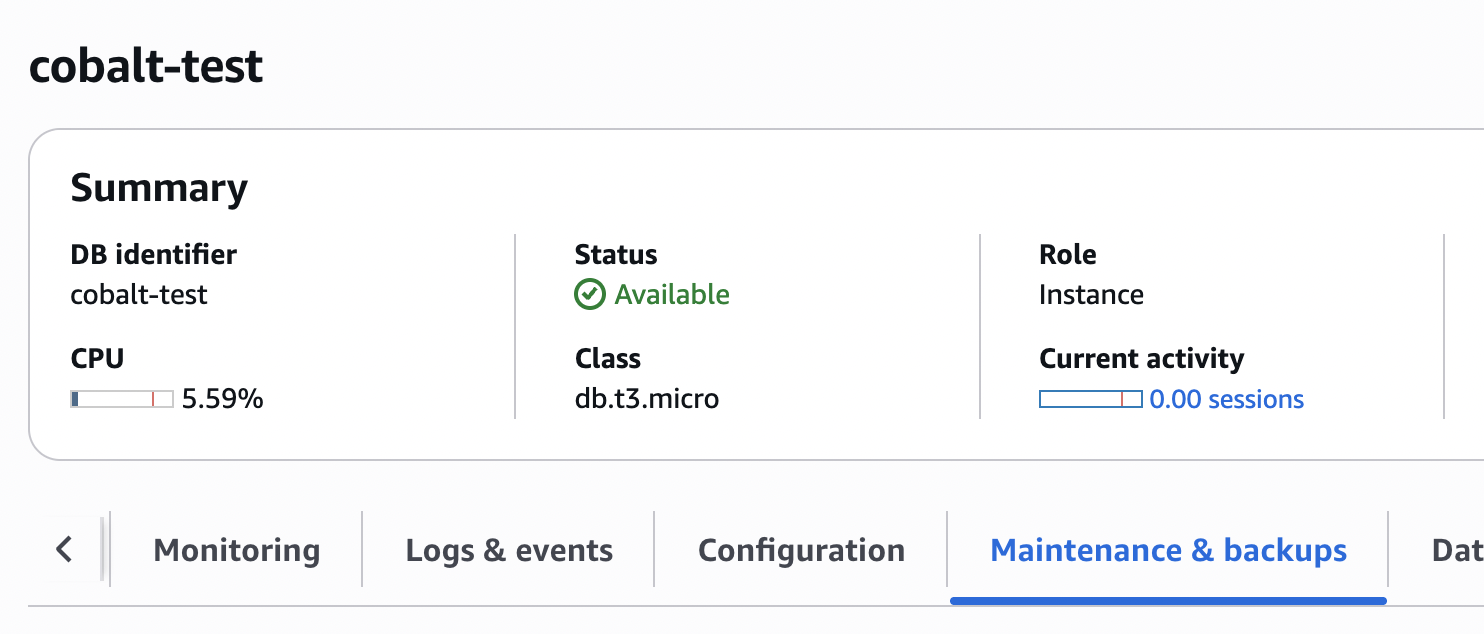
Go to RDS, select your database, and go to the Maintenance and Backups tab.
Find your snapshot and click Restore.
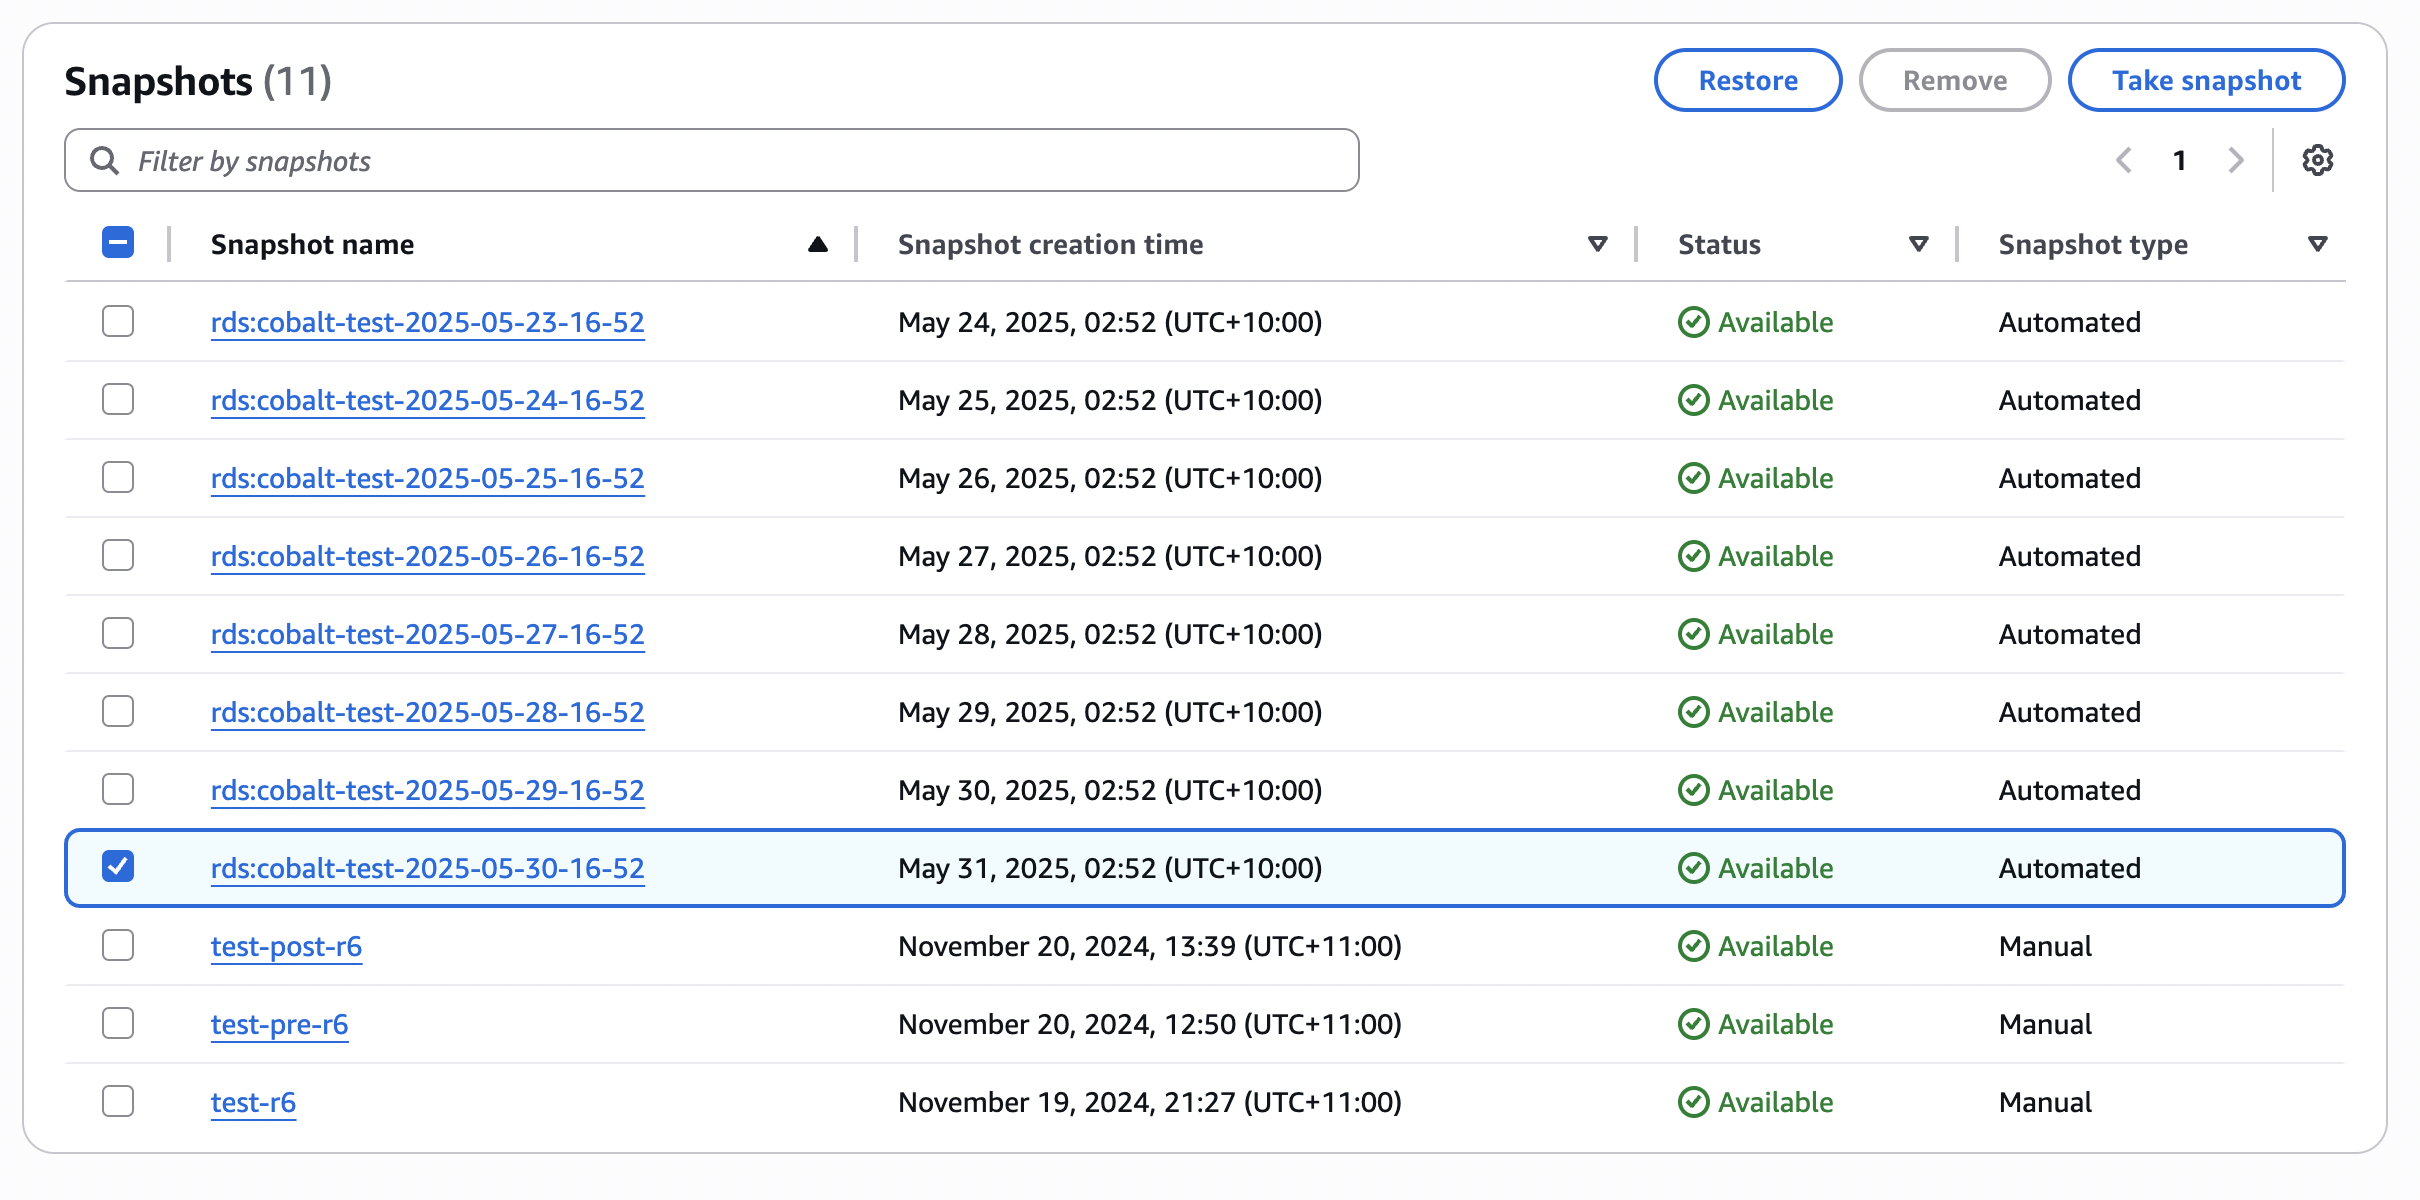
In Settings, give it a name and choose your EC2 instance size.

You should be able to keep everything else at the default and click Restore DB Instance at the bottom of the screen.
For small databases it doesn’t take long to restore. It will then take a backup and if your database version is a long way behind it will automatically upgrade it.
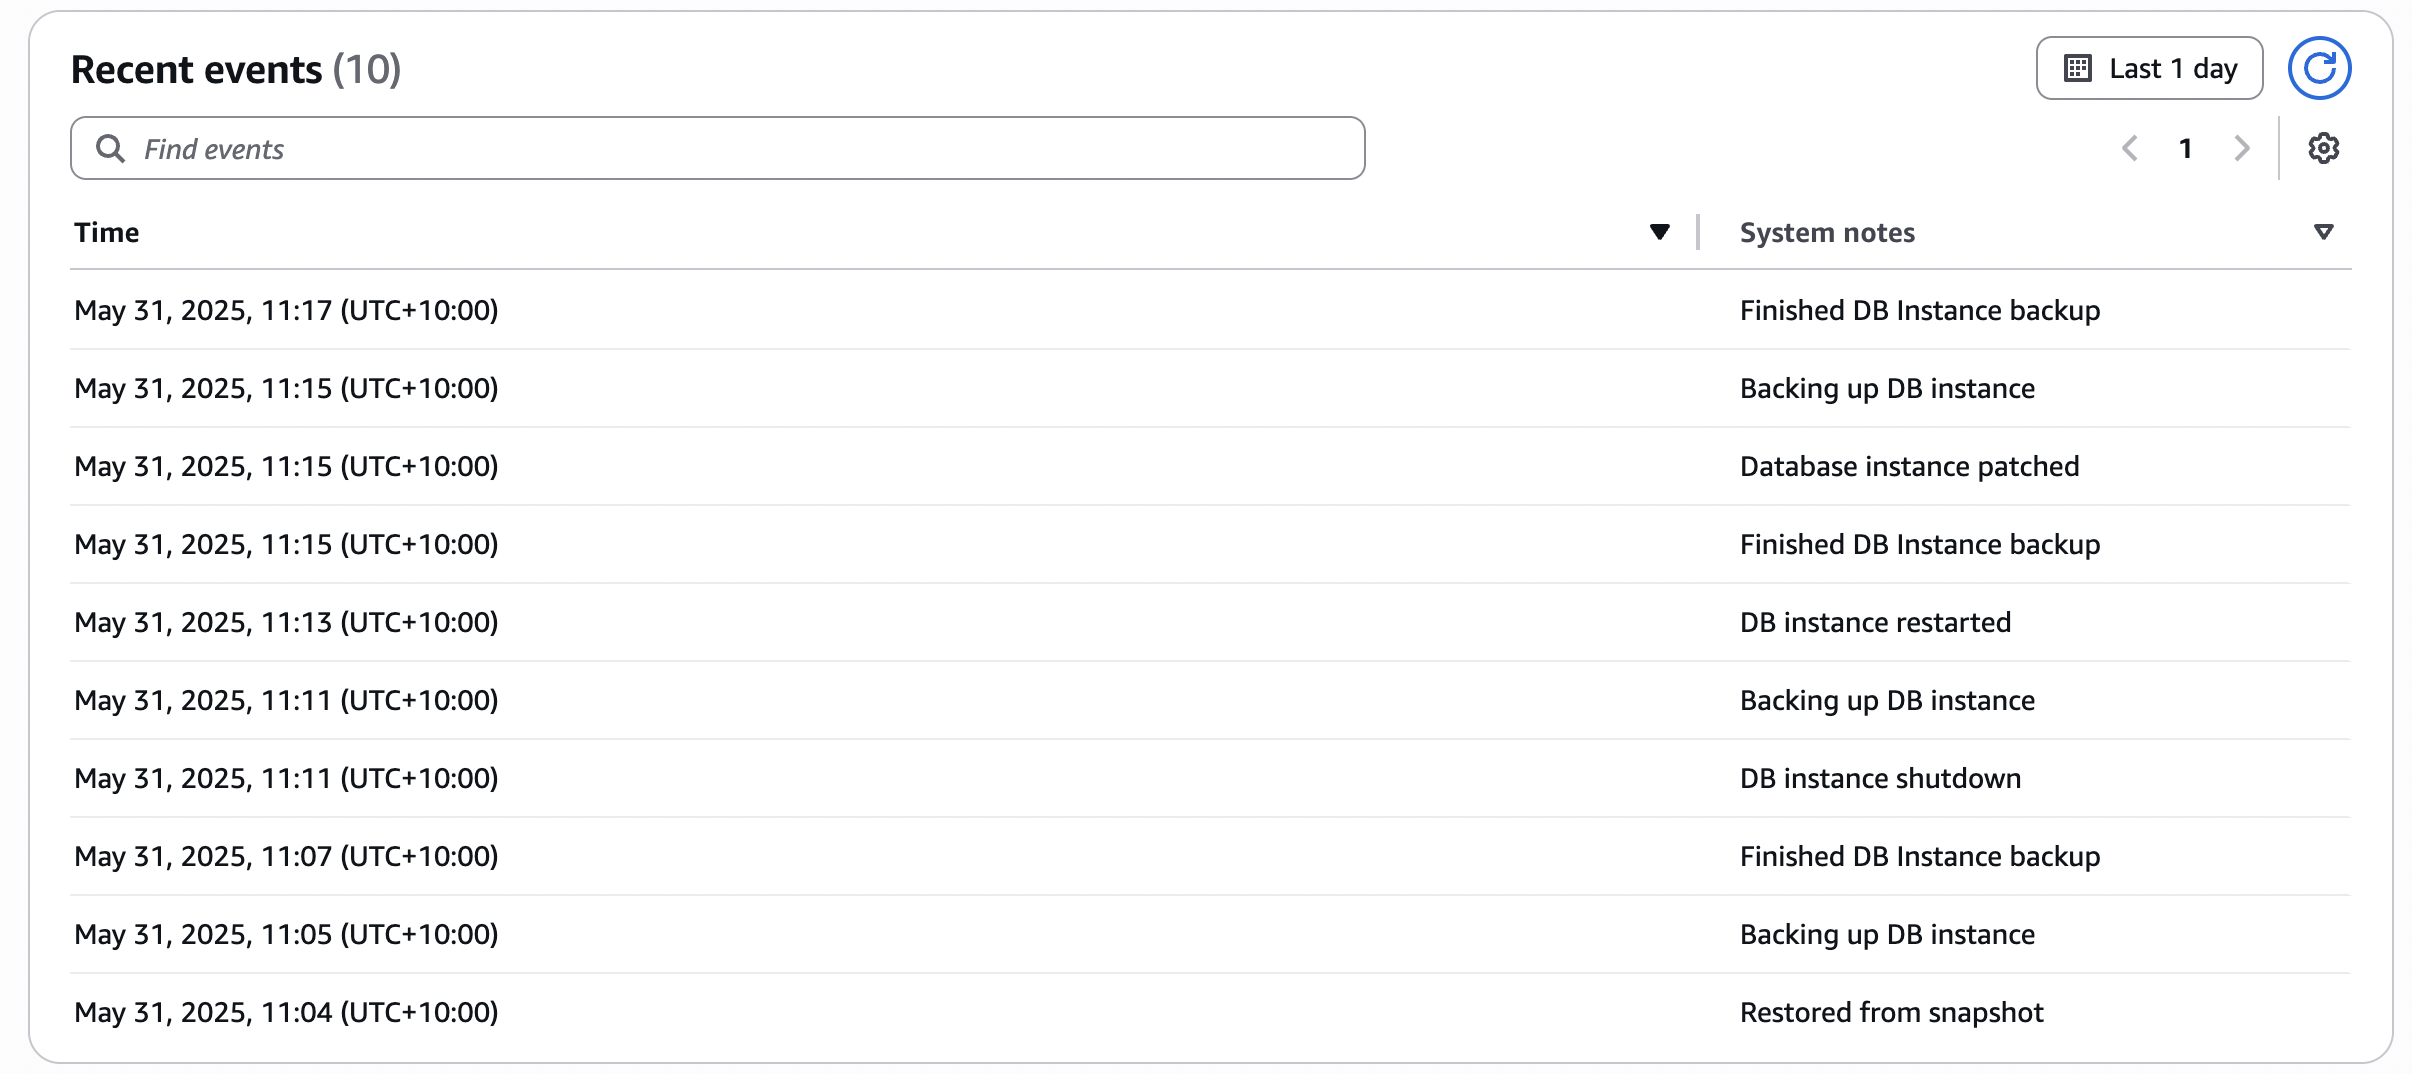
You can go into the database and go to the Logs and events tab to see what has happened.

Upgrade Database Server#
Wait for the database server to be restored and ready.
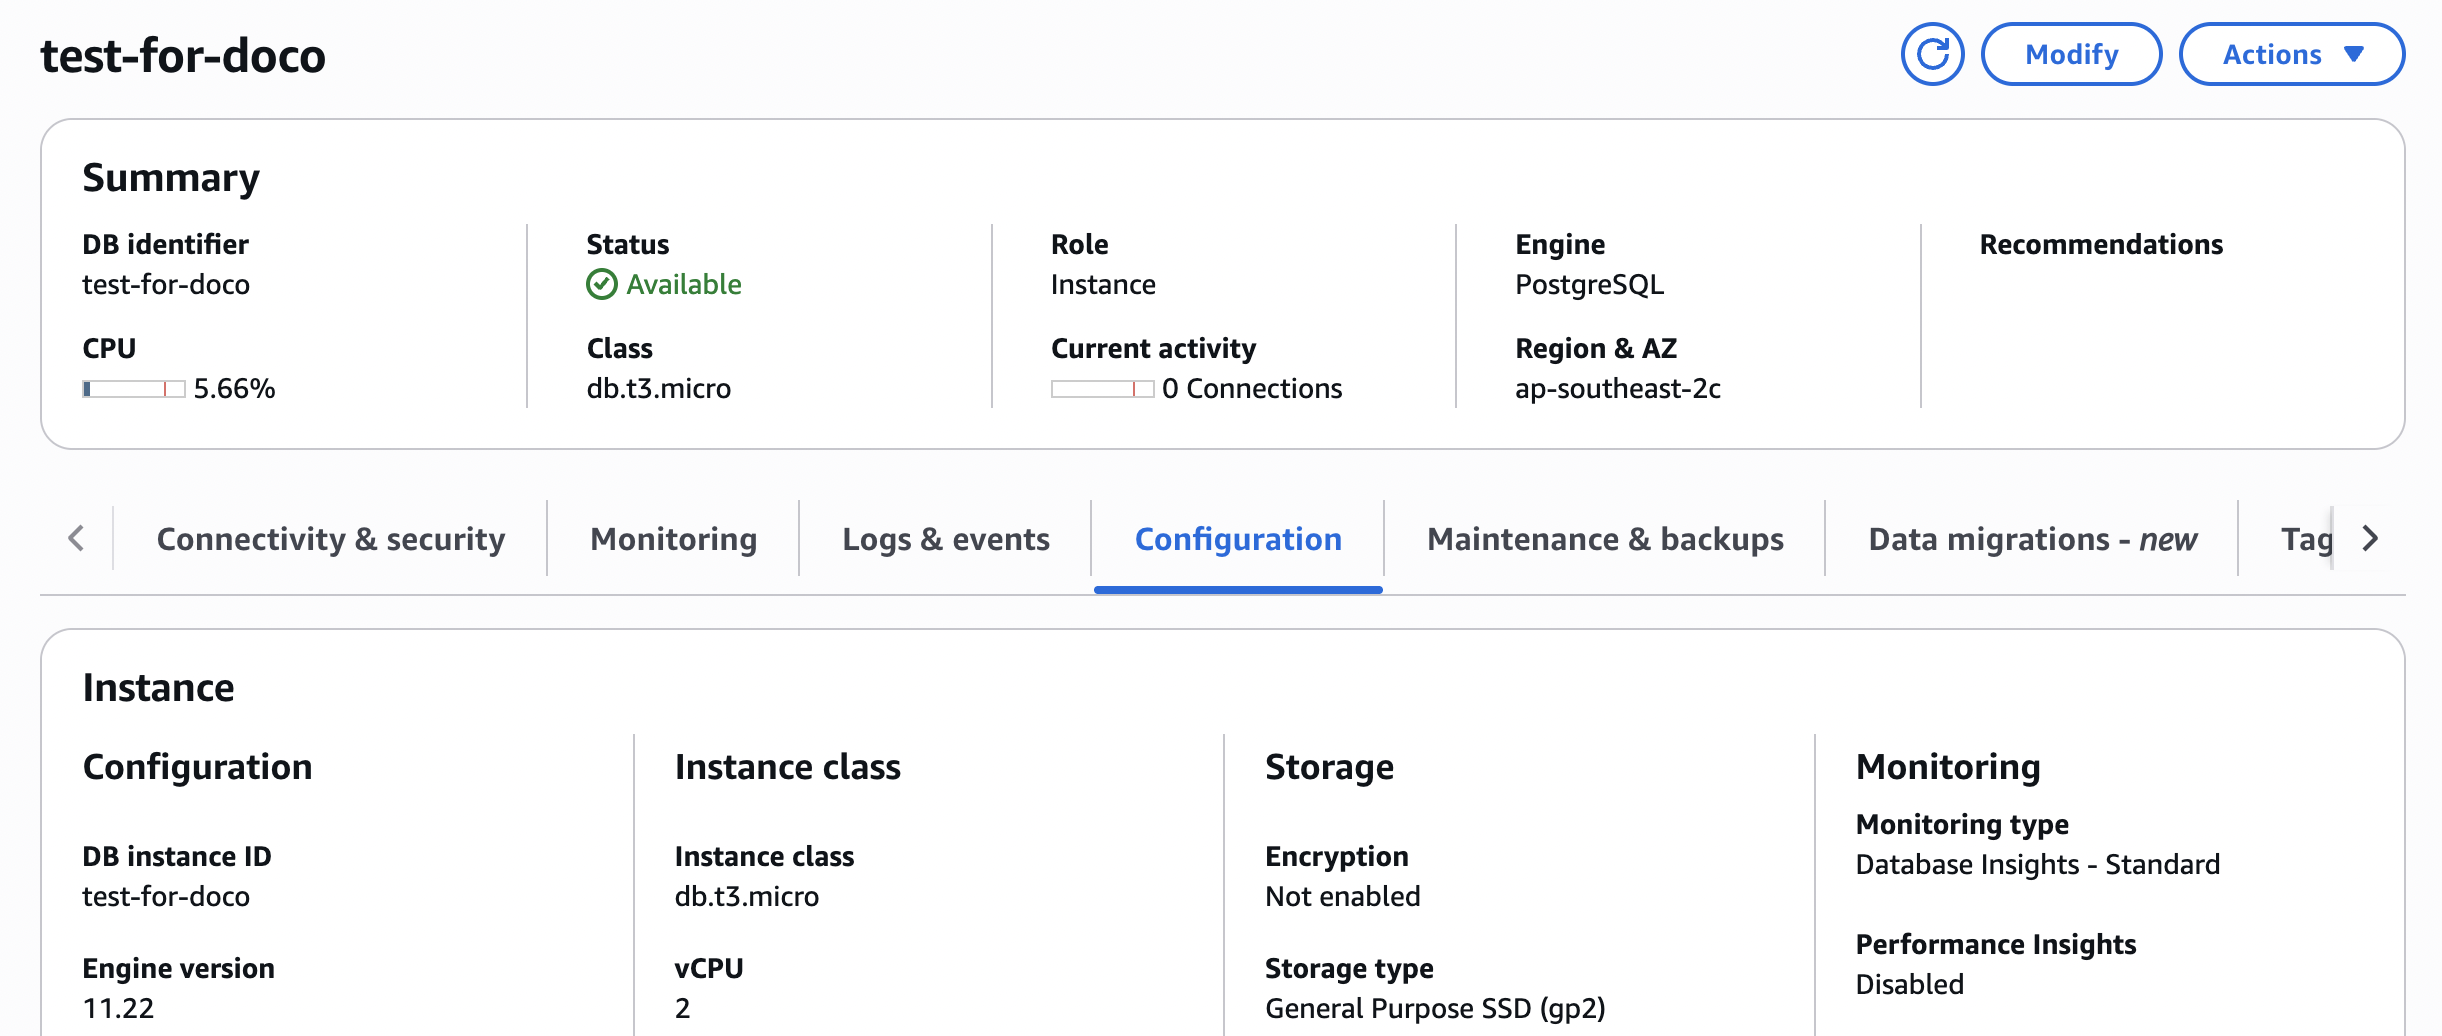
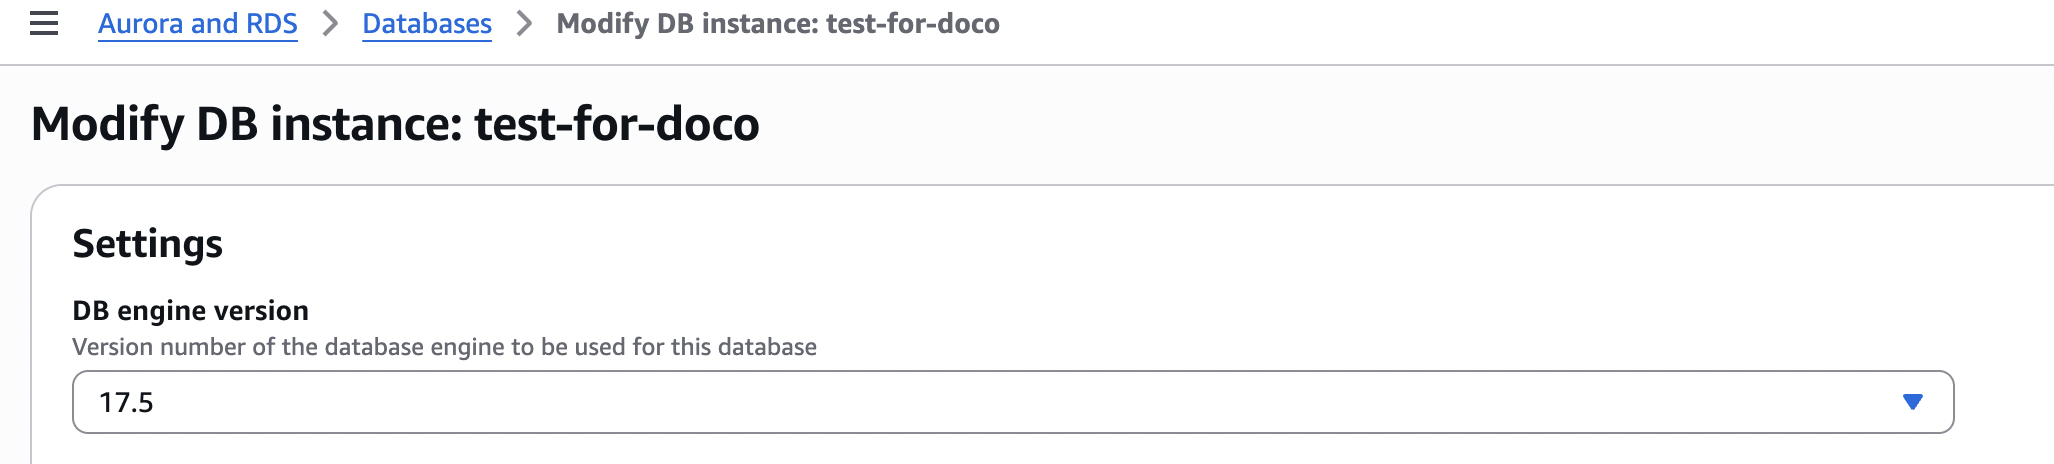
If you go to the Configuration tab you will see the version of your database server.
You can click Modify to upgrade the database.
Select the version you would like.
Note
If you are on a very old version you may have to go through multiple steps to upgrade to the latest version.
You can leave everything else as it is and scroll to the bottom to click Continue.
You will be taken to a confirmation screen. Select Apply immediately and then click Modify DB instance.

In this case the version was so old that it was automatically upgraded to a supported version after the restore.
You can see the whole timeline if you go back to Logs and events:
Production#
Production is very similar to Test but with time pressures. It is necessary to stop any updates while the database is upgraded.
Note
There are ways to upgrade with zero downtime but they add complexity and risk. A more experienced RDS expert than the current author may wish to update this documentation.
Practice#
You can practice the upgrade by doing all of the steps apart from maintenance mode and the cut over.
This is a good idea to do, not just to check that it works, but to get an estimate of how long the outage window will need to be.
Maintenance Mode#
Start by putting the system into maintenance mode.
Note
There is currently a bug (June 2025) that means you need to do this through the Elastic Beanstalk settings not the MyABF system option, if there are more than one Elastic Beanstalk systems set up. e.g. cobalt-production-green and cobalt-production-blue.
You can do this either by changing the environment variable MAINTENANCE_MODE to ON or by going into MyABF to Admin and System Settings.
If you aren’t logged in, you can go to https://myabf.com.au/accounts/login
Warning
If you login as someone else to make sure it is working, you won’t be able to logout. Use another browser if you want to try this.
Create New Database Server from Snapshot#
Follow the same process as for Test above.
Upgrade Database Server#
Follow the same process as for Test above.
Change Elastic Beanstalk Environment Variables#
Update the Production Elastic Beanstalk environment to change the environment variable RDS_HOSTNAME to be the name of the new server. You can do this from the UI.
Quick Checks#
Use an admin account to login to Production MyABF and check it looks okay. Also run:
cgit_production_smoke_test
You can compare the database tables by running a count before and after the upgrade. e.g. create a file called /tmp/sql and put these commands in it:
select table_name,
pg_size_pretty(pg_total_relation_size(quote_ident(table_name))),
pg_total_relation_size(quote_ident(table_name))
from information_schema.tables
where table_schema = 'public'
order by 3 desc;
Before the upgrade, on a production node run:
./manage.py dbshell < /tmp/sql > /tmp/tables_before
After the upgrade run:
./manage.py dbshell < /tmp/sql > /tmp/tables_after
diff /tmp/tables/before /tmp/tables/after
You may get differences for email tables (SNS updates aren’t blocked in Maintenance Mode) or for user logins.
Remove Maintenance Mode#
Note
There is currently a bug (June 2025) that means you need to do this through the Elastic Beanstalk settings not the MyABF system option, if there are more than one Elastic Beanstalk systems set up. e.g. cobalt-production-green and cobalt-production-blue.
You can do this either by changing the environment variable MAINTENANCE_MODE to OFF or by going into MyABF to Admin and System Settings.